Monday, September 20, 2010

Fun Fall Wishes!


Hi friends!  Just wanted to share the 8 fall-themed cards I made for some of my friends, just because!  These cards came together naturally- for years I've had this chipboard sticker set from Doodlebug (love!) which I was hesitant to use because it was just so fun to look at.  You know what I'm talkin' about, hoarders!  lol   But I've been trying to work on my stash, so I thought I should use what I love, right?  Well I had picked up some Doodlebug paper by Cricut a few months ago, and realized that the fall-themed papers in that set matched my chipboard.  I love that about Doodlebug- all of their products match. :)  Then... I went to a stamp show Saturday and came across more (but different) Doodlebug patterned paper, sold in a little pre-cut kit for $6, so of course I had to have it.  The only paper that's not Doodlebug is the brown cardstock.  

Anyway, at the stamp show, I spent way too much money at the Darcie's and Inky Antics booths.  I just LOVE their stuff, and since I can't find anything like that in Michaels or AC Moore, and since my LSS closed a few years ago, I tend to go nutty when I find a vendor that I really love at these stamp/scrapbooking conventions. I went gaga over these 2 Darcie's sets, and had to use them right away:


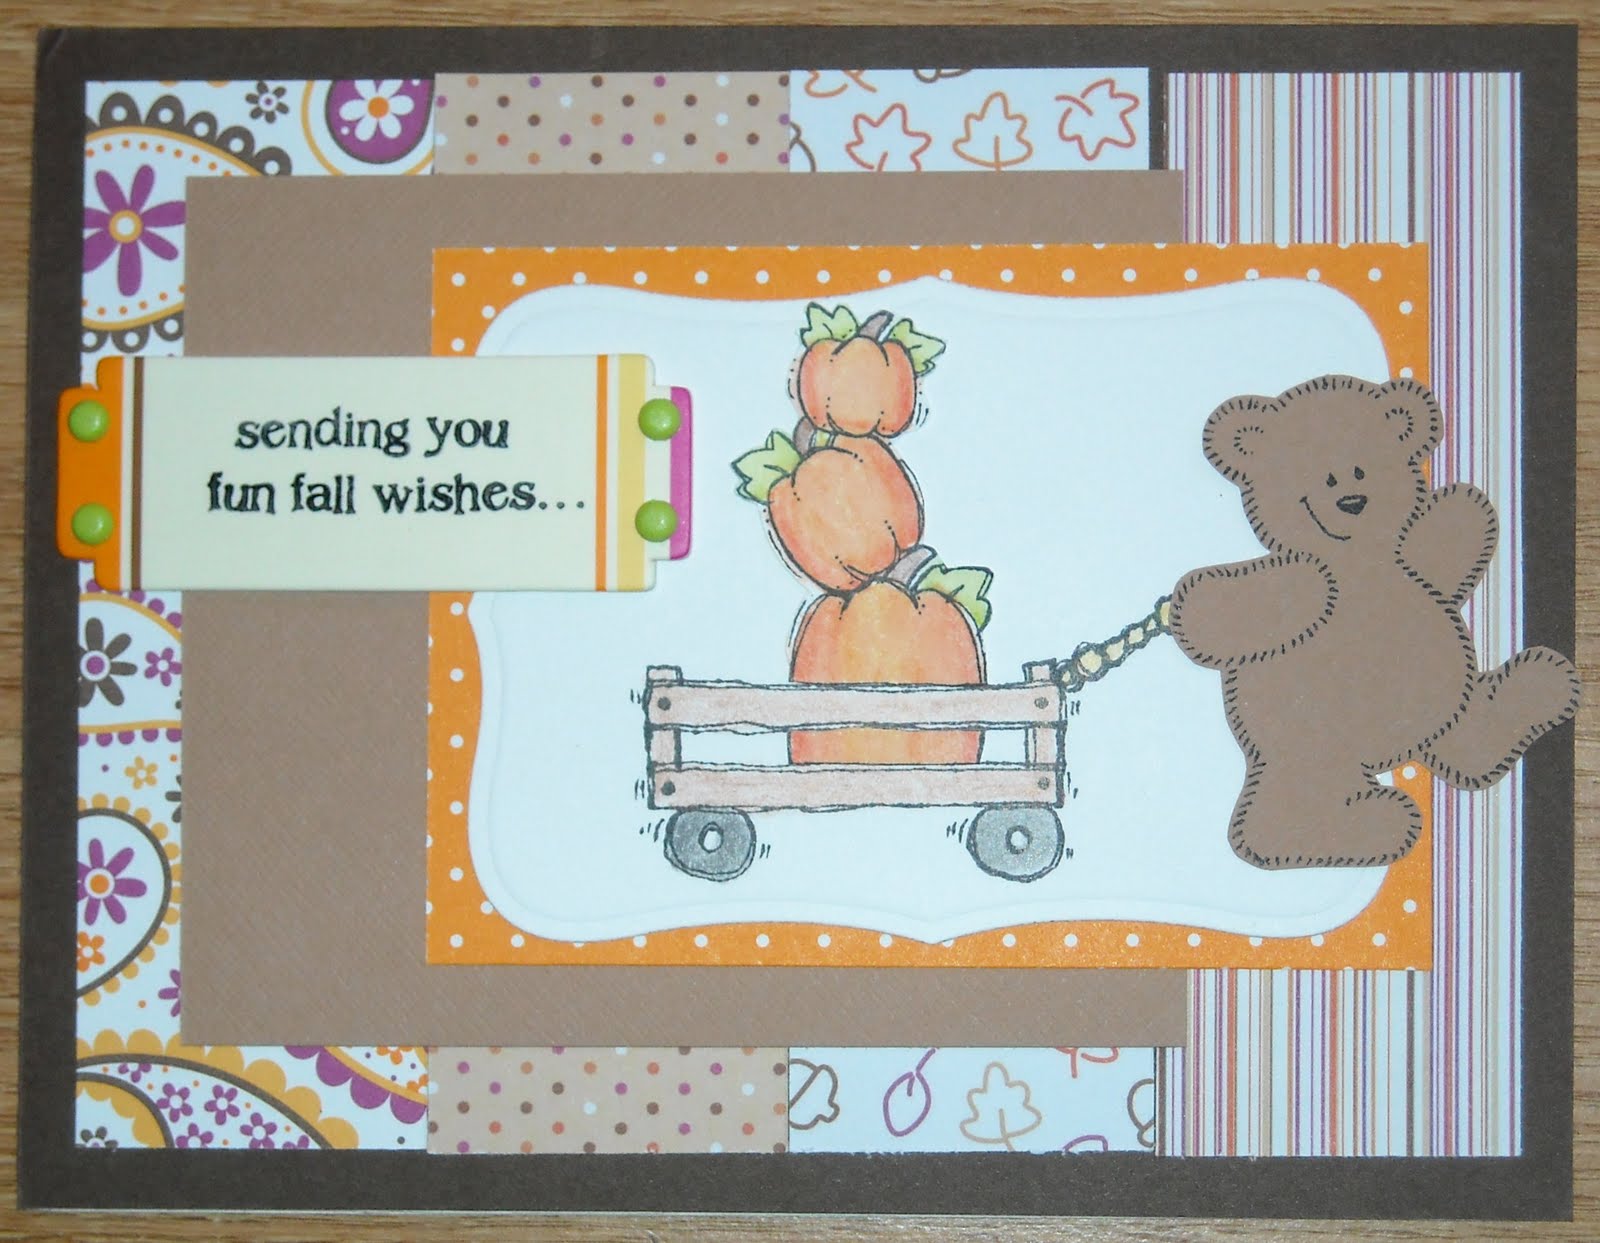
I tried to be lazy and stamp the stack of pumpkins instead of stamping a whole bunch of single pumpkins to make a wagon-load, but I ended up doing a ton of work anyhow.  :)  First, I colored them sloppily with my watercolor pencils and then actually added water to blend the colors.  I really like how they turned out- I think I'm getting a teensy bit (I said teensy, not much! lol) better at my coloring/shading.  Then I cut out each stack of pumpkins so I could put them in the wagon (I had previously stamped the wagon right on top of the pumpkin stack so I would know exactly where to cut).  I also cut out my teddy bear guy- isn't he adorable?!  Just marchin' along, delivering his wagon full of pumpkins!  hehe :)  After I assembled all of the paper pieces, I stamped the sentiment on various pieces of chipboard, and added brads or ribbon as necessary.  The inside of the cards read "... by the wagonload".

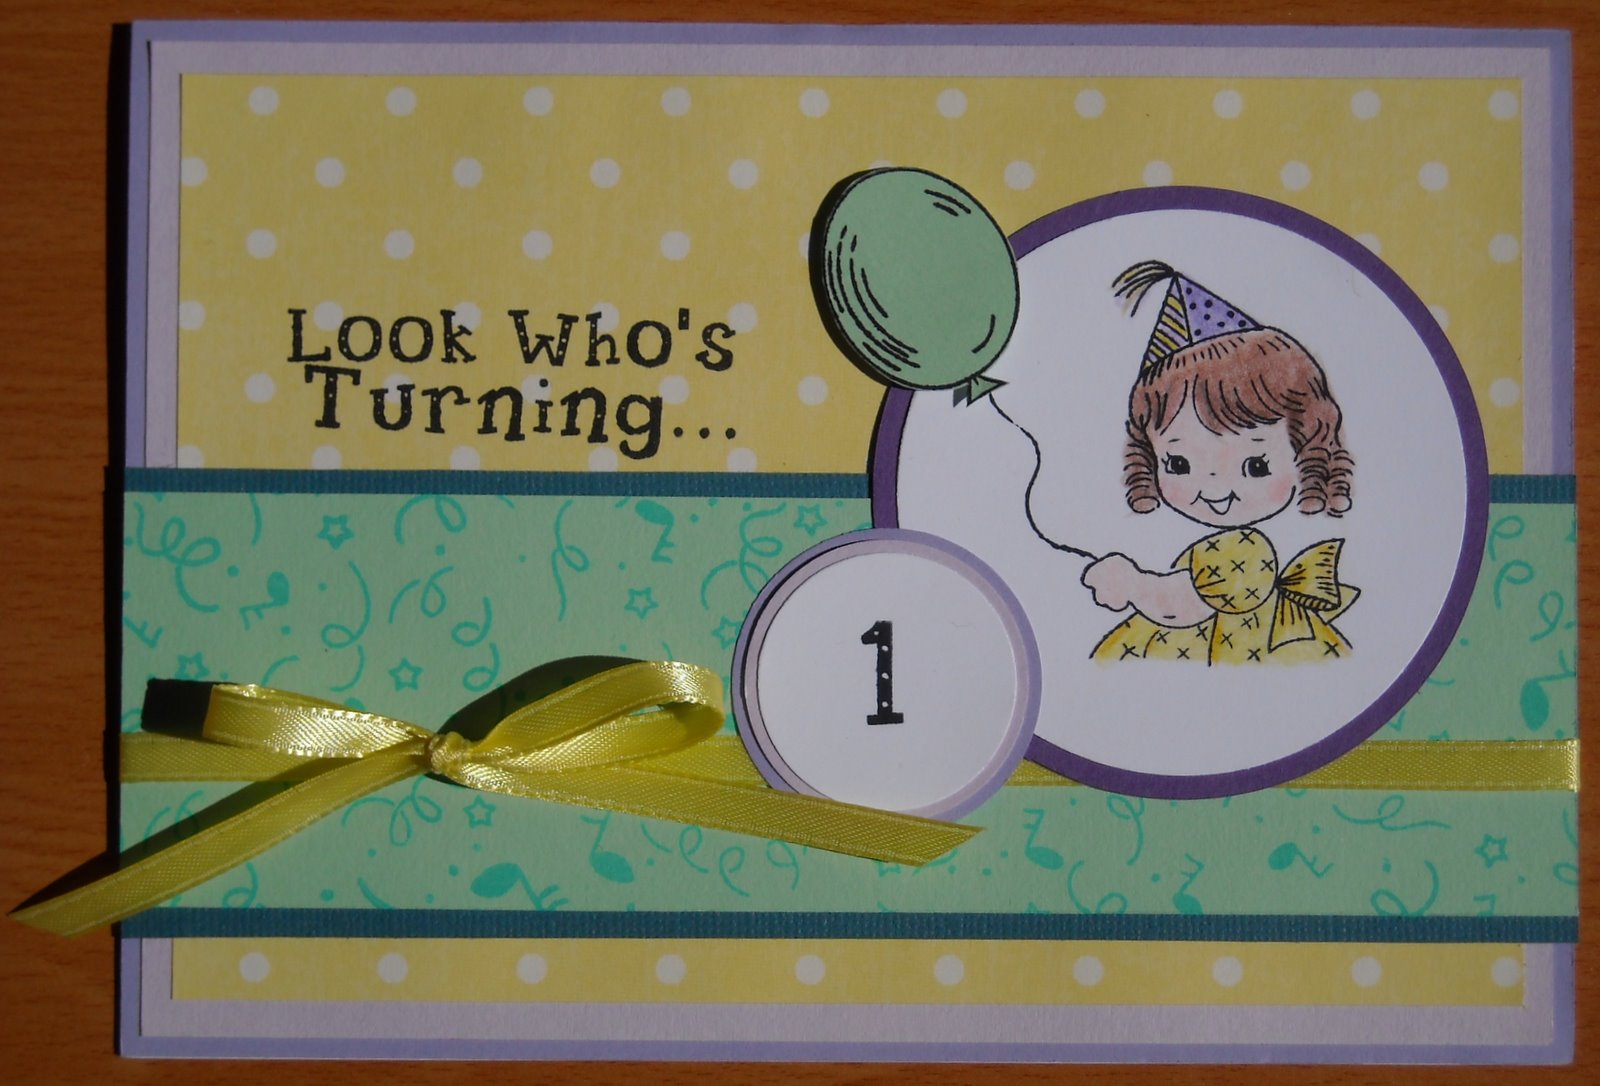
I figured I'd post all 8 cards so you could see how each one is just a tiny bit different.  These cards literally took me all day, but I loved every single minute of it!  These cards are so ME, I just can't even stand it.  Anyway, I hope you enjoy them too, thanks for stopping by!!

-Suzanne :O )


Monday, September 13, 2010

Oh, nuts!


Hi everyone!  Here's the other Starving Artistamps card I said I would post!  I made this for my friend John, whose birthday I wasn't prepared for, as you probably assumed from the message on the card. ;)  I tried to keep the colors masculine and earthy, so I used some patterned papers by K&Co (brown) and DCWV (stripes), along with some light blue and tan cardstock.  I colored the nutty-looking squirrel with my watercolor pencils, but I was in a rush, so I didn't work on my shading this time.  :(  To add interest, I punched the blue paper with my EK Success scalloped border punch.  I added some cut-out acorns and a bit of brown bling to finish off the card- hopefully the brown color doesn't make the bling look girlie (???)!  My regret about this card is that I stamped the sentiment directly onto the stripes, and realized afterwards that it's a little hard to read, but at least I'll know not to make that mistake again.  I've only played with my SA stamps a little bit, but you can see I've been having fun with them!  They're a hoot!  I have a Christmas set I'm anxious to ink up, but that will have to be put on hold for a while as I still need to get started on my Halloween cards.  I also want to make autumn cards to use up the piles of fall-themed papers I have, so I really need to get busy.  I LOOOOOOVE this time of year as I work better under pressure.  It's just one holiday after another, and it really helps me use up my stash.  Now  if only I could figure out a way to keep my Etsy shop maintained, I'd be golden.  lol! :)  Alrighty, enough rambling for tonight.. hope you like my card, and thanks for popping in!


-Suzanne :O )
Posted by Picasa

Sunday, September 12, 2010

Look Who's Turning 1!


Hi friends!  Remember the 100 baby shower invitations I made last year?  Well Gracie is turning 1 on Wednesday, so they had her birthday party yesterday.  It's amazing how fast time passes by!  I wanted to make a special card for her, so I started off by using the Taylored Expressions sketch as my base:


I went through all of my cardstock to see what kind of color combo to go with... I didn't want to do pink, because that's so in-your-face-girlie, and she's not a baby anymore, anyway, she's a mature 1, thank you very much! lol  I've always liked yellow and purple together, and when I saw the deep aqua green, I thought that would be a nice contrasting color, along with the lighter aqua green.  The yellow polka dot paper is Creative Memories, but I'm not sure who made all the cardstocks, as my friend picked up a huge stack of it for me at a yard sale (she's a GOOD friend! hehe).   I wanted to use my never-before-inked Crafty Secrets clear stamp set, and I really went to town with it.  I'm not usually one for making my own patterned paper, but when I got the pieces cut down, it seemed like the light aqua paper needed a little jazzing up, so I thought I'd do some subtle tone-on-tone stamping with ColorBox chalk ink.  I think it looks festive, but not too distracting. ;)   The girl and the balloon are two separate stamps, and when I realized they wouldn't both fit inside the circle, I thought it looked better anyway, and decided to paper piecing the balloon.  I think this girl is adorable, by the way!  I've been trying to focus more on my coloring lately, but I know I still have a long way to go.  I tried to make her look like Gracie with the dark hair. :)  For the finishing touches, I layered some circles to make the "1" stand out, and added a bit of yellow Offray ribbon to repeat my color combo.  I realize my final card doesn't match the TE sketch exactly, but I'm really pleased with how the card turned out.  When Jenn and Gracie opened her presents, Jenn yelled over to  me "I have one guess who made the card!!!" so I'm sure she appreciated my handmade efforts. ;)  We had fun at the party- lots of little ones running around, kind of makes me want to be a mom, but not juuuuust yet.  :) :) :)  Hope you're all having a great weekend- the weather here is turning cooler, can't WAIT for fall to get here!! :D


-Suzanne :O ) 
Posted by Picasa

Thursday, September 2, 2010

TREE-mendous


  Hi everyone!  I fiiiiinally inked up my Starving Artistamps stamps last month.  I've had them since, I dunno, APRIL!? and I've been itching to use them, so I finally pulled them out to use for my dad's birthday.  I think we can all agree that masculine cards are tough, but my dad is into nature, so I thought this pun would work well for him.  I paper pieced each of the trees with scraps of green patterned papers and cut them out.  Some shapes are really tough and time consuming to cut out, but these were a breeze- I'll probably always paper piece these guys in the future! :)  I cut out/embossed some cardstock with my Nestabilities and stamped the sentiment (I know, it's crooked.  Darn those non-clear stamps! lol) below the trees.  I added a bit of DCWV patterned paper to some kraft cardstock and  finished the card off with some brads by Recollections.  My dad got a laugh out of it, and I hope you will too!  Thanks for stopping by!


-Suzanne :O )


PS-  I have another Starving Artistamps card to share soon!
Posted by Picasa

Sunday, August 29, 2010

Halloween Thanks


Hi friends!  Just a quick post this lovely Sunday afternoon.  I participated in a Halloween tags swap and wanted to make a thank you card for the hostess.  My co-worker gave me a pack of bright and bold cards that she picked up a yard sale, so I grabbed this orange card for my base.  I used another 3x3 piece from a swap, but altered it a little bit.  Originally, it was just the 2 pieces of green paper, the green flower, a green brad, and the thank you sentiment.  I wanted it to be more Halloween-y, so I switched the green brad for a black one, added the orange and purple flowers, and outlined the first patterned paper with a black Sharpie marker.  To finish off the card, I added the bits of black polka dot ribbon.  This was kind of a simple card for me, as I usually use patterned paper on my card bases, but I really like how this turned out.  Thanks for stopping by! :D


-Suzanne :O )
Posted by Picasa

Sunday, August 22, 2010

How much love


Hi everyone... just a quick post today so I can participate in the ISC sketch challenge.  A while back I had participated in a 3x3 thank you swap; the yellow piece is from that swap.  I matted the piece with white cardstock, layered that onto some patterned paper and white and pink cardstock, and added a bit of blue scalloped printer paper and some pink polka dot ribbon.  This color scheme was a bit of a challenge for me, but I wanted to tie the yellow and purple together and found this patterned paper in my scrap stash, so I just went with it.  I hope you like it, thanks for stopping by!


-Suzanne :O )
Posted by Picasa

Wednesday, August 18, 2010

Custom-Made Address Labels!

Hi friends!  I've been away longer than I realized, but I wanted to share a fun project I did recently, that I felt I should make a "tutorial" for, even though it's pretty self-explanatory and totally unnecessary to "spell out" with pictures! :D  I ran out of address labels, so I thought I'd make my own.  I used some cutie pie stamps by Woodware USA and blank Avery labels.  You can see my process in the photos below:


Step 1:  Stamp adorable envelopes to left-hand side of labels.  Forget to pre-print your address.

Step 2:  Finish stamping envelopes on all 30 labels.

Step 3.  Gather a rainbow of markers.

Step 4:  Color each heart on the envelope in rainbow order, starting with pink.

Step 5:  Realize that you forgot to pre-print the address and painstakingly hand write each one.  

Step 6:  Enjoy your new, custom-made address labels, and make each card recipient green with envy of your craftabilities!

I showed these to Chris, and of course he wanted his own set of labels.  He chose a Hero Arts mouse (who's wearing a shirt with plaid shorts, thank you very much.)  This time I remembered to print his address first, and it went SO much faster! LOL  Thanks for stopping by, hope you enjoyed my silly step-by-step tutorial!

-Suzanne :O )
Related Posts Plugin for WordPress, Blogger...